Getting outside and exploring nature has become exceedingly popular over the past few years. And while I’ve always considered myself to be an avid traveler and seasoned camper, I found myself wanting to push the limits for how far “out there” I could go. My Toyota 4Runner SUV and all-terrain tires have been stable, constant companions on all my adventures. However, I recently learned there were some relatively simple updates I could do to my SUV that would make my escaping easier and more enjoyable. And that’s when I discovered overlanding.
Maybe you’ve never heard of overlanding before, or you’ve heard about it but never tried it. Either way, I’ll break down everything you need to know—from clarifying what overlanding is to sharing the best overlanding gear to suggesting some of the best places to test your overlanding skills. Consider this your complete guide to overlanding.
Interested in overlanding? Here’s where to start and what to know
Overlanding vs. off-roading
First, it’s important to note the difference between overlanding and off-roading. These two terms are often used interchangeably but they shouldn’t be. It’s valuable to know that overlanding includes off-roading, whereas off-roading doesn’t always include overlanding.
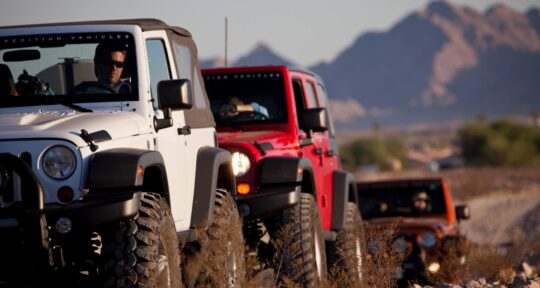
Off-roading can generally be defined as any driving activity that takes a vehicle on unsurfaced roads or over natural terrain. Overlanding, then, is technically a form of off-roading because you almost always cover some unsurfaced roads—but the goal of overlanding is to travel long distances and have a vehicle that can house you for the duration of the journey. And because overlanding is typically done over multiple days, in a variety of environments, more equipment is required.
How to off-road like a pro in your own vehicle
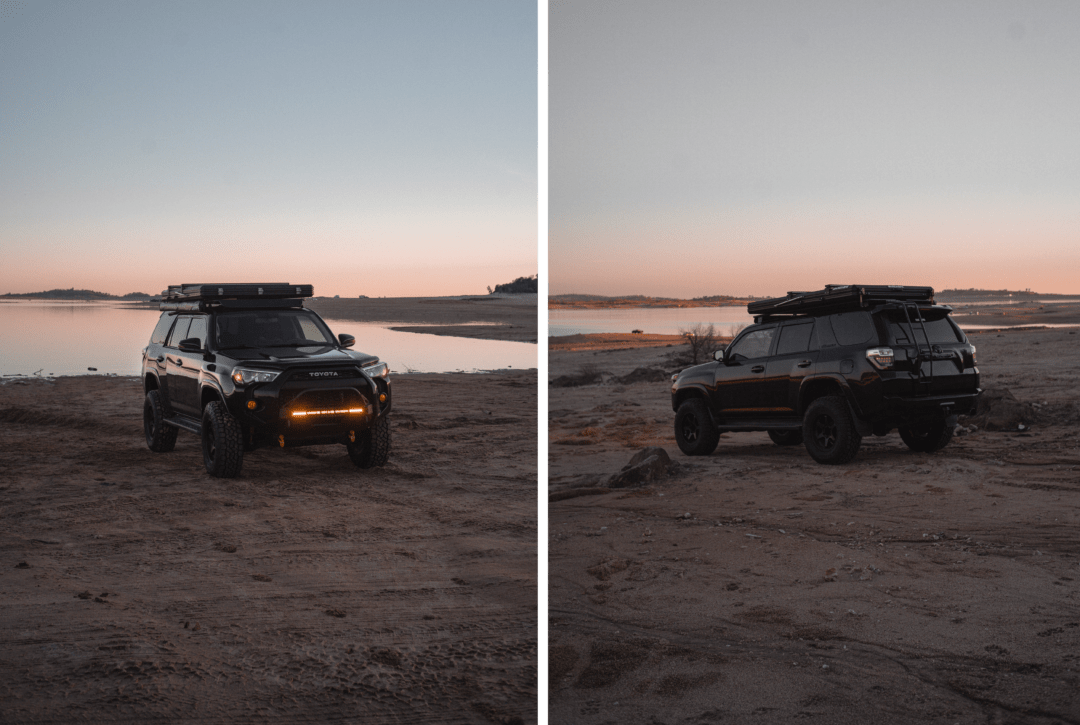
When I started making updates to my 4Runner, I had two major goals in mind: I wanted a vehicle that could get me from point A to point B (even if that meant taking dirt roads), and I wanted a vehicle that could take me completely off the grid for days at a time. The ability to be self-sufficient and self-reliant for long periods of time ultimately meant that I was building my 4Runner for overlanding.
Overlanding includes off-roading, whereas off-roading doesn’t always include overlanding.
Overlanding gear and equipment
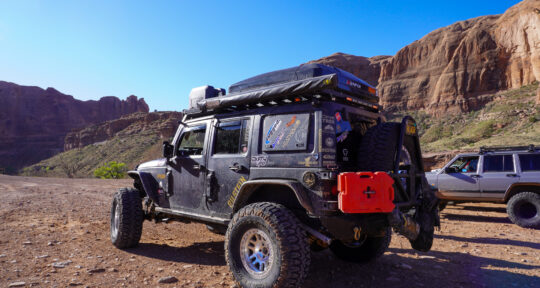
Now that we’ve clarified what overlanding is, let’s get into some of the specifics around proper gear and equipment. Overlanding requires a lot out of your vehicle, as the intention is to stay outdoors for long periods of time with little to no maintenance. When evaluating a vehicle for overlanding, there is no one “right” option—it really depends on the driver and personal preference, and you definitely don’t have to own an SUV or truck to have a successful overlanding trip. However, here are a few important things to consider:
Four-wheel drive is a valuable feature on any overlanding vehicle. Even if you don’t plan to scale boulders, you may find yourself driving through uneven terrain, and having that extra traction and power will make all the difference.
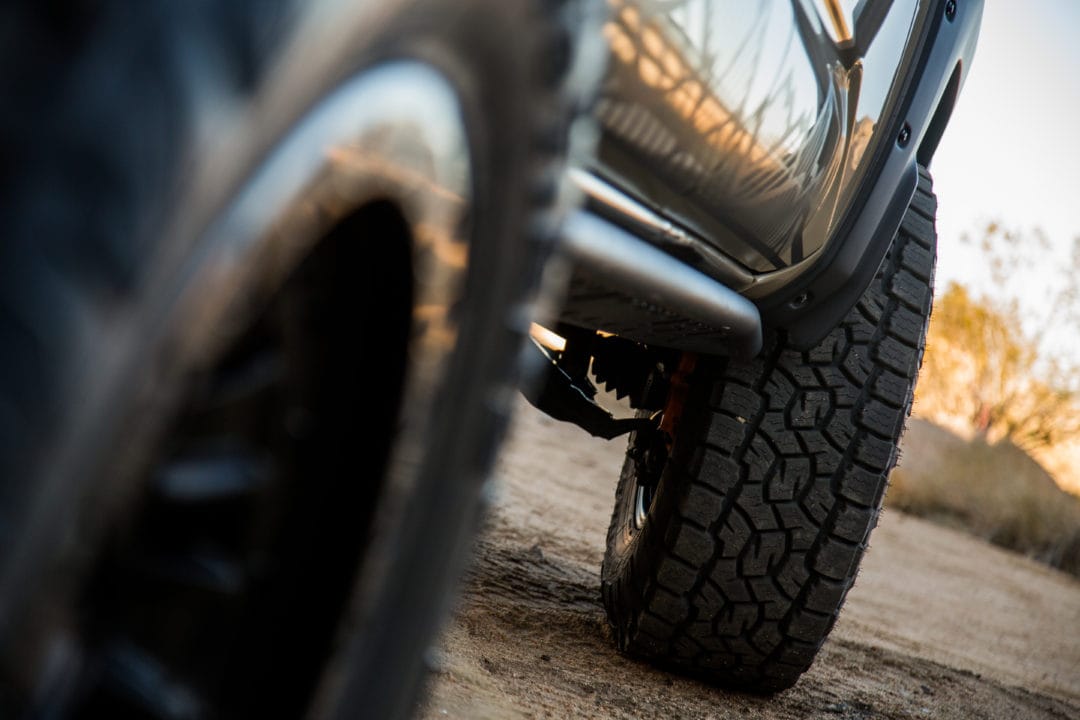
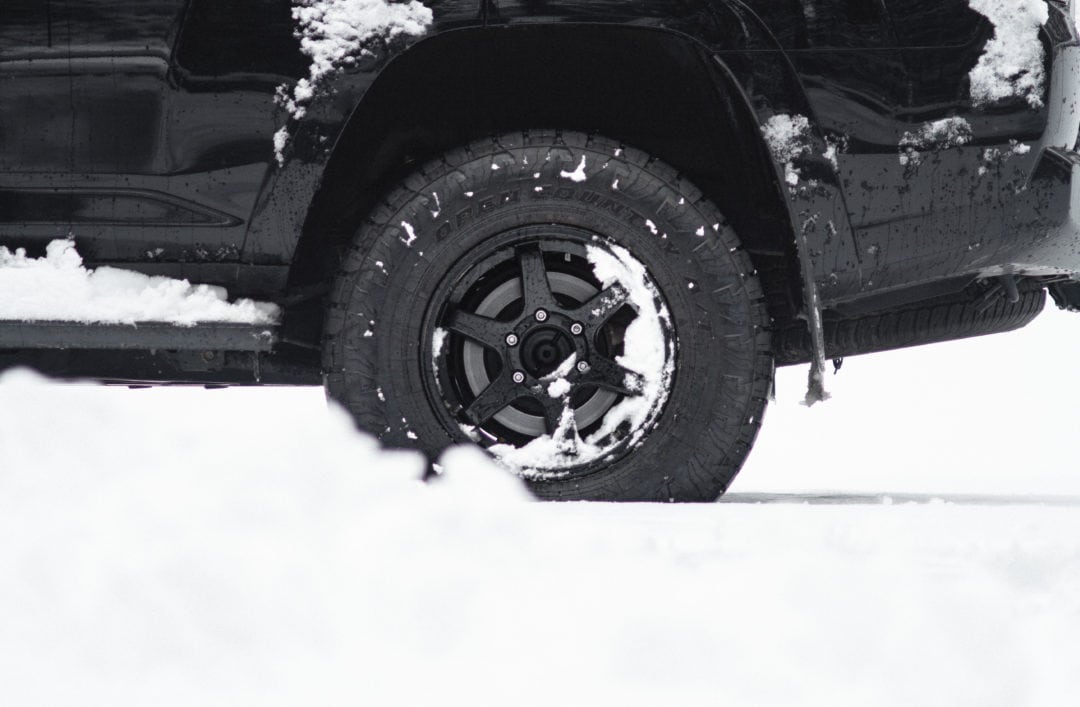
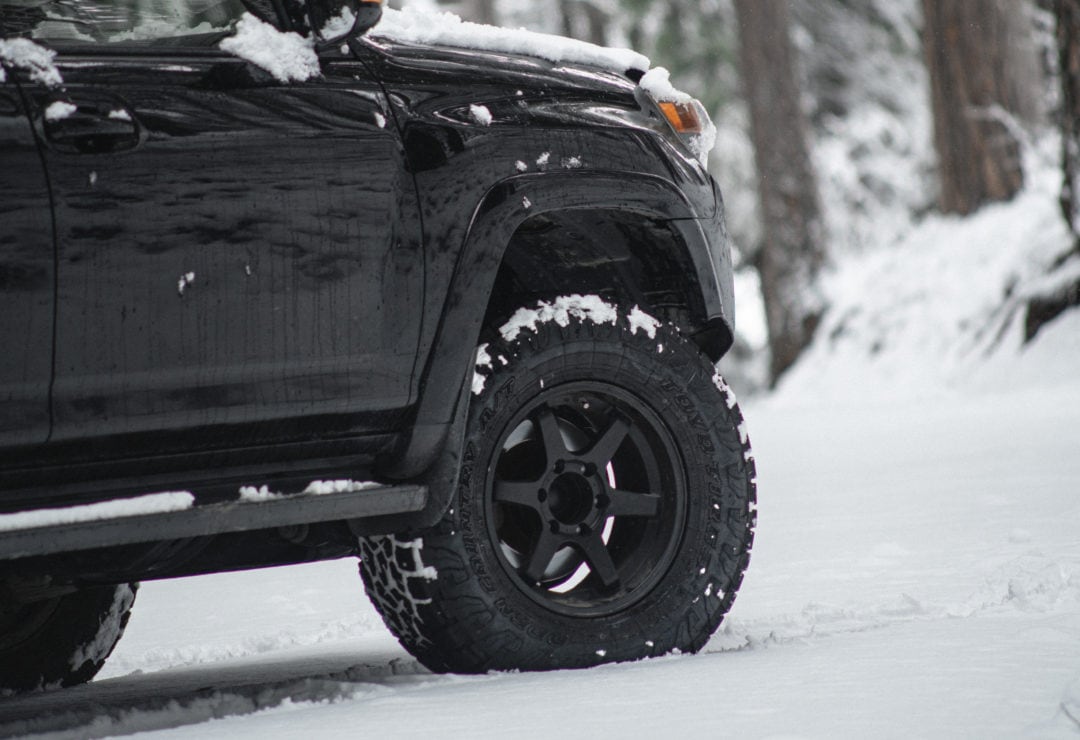
Tires are non-negotiable when it comes to overlanding—having a set of reliable tires can be the difference between a good trip and a great trip. After all, the tougher the tire, the easier the escape. Look for tires that specifically mention off-road or all-terrain (sometimes listed as AT or A/T). I’m currently running a set of Toyo Open Country A/T III tires. They have gotten my 4Runner through every type of condition—including snow, mud, sand, and gravel. Remember to check your tires at least once a month, as well as any time you return to the highway after an off-road excursion. This includes checking tire pressure, tread depth, and inspecting the tires for any tears or damage.
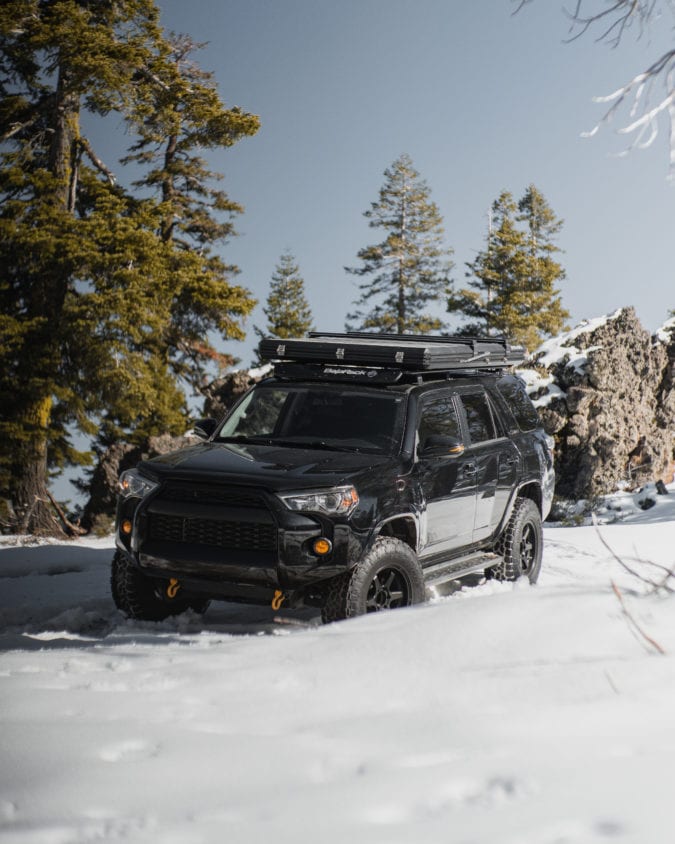
Suspension is another important factor, as this helps maximize vehicle performance and absorb bumps for a safer, more comfortable ride. Look for a vehicle that has independent front suspension (IFS). This means that if you hit a bump or uneven ground, only the contacted wheel is affected while the rest of the wheels keep their own traction. Suspension is also important for weight. Depending on how long you plan to overland, you may be packing weeks’ worth of food and supplies, which can add significant weight to your vehicle. Even a simple tent topper on your car’s roof or truck bed adds extra strain, so be mindful of your vehicle’s maximum weight limit.
High ground clearance is not necessarily required for an overlanding trip, but it is something to consider. Having higher clearance on your car or truck means you can take on more unexpected terrain and not have to worry about scraping the undercarriage. To help increase the ground clearance on your vehicle and prevent damage, you can add undercarriage protection, such as skid plates, or raise your vehicle using torsion bars and spacer lifts.
Lastly, it never hurts to carry a few additional pieces of safety equipment—you never know what you might run into on (or off) the open road. Some safety items that I always carry with me on an overlanding trip are a recovery traction board, an air compressor, winch recovery straps, and a basic tool kit (hammer, pliers, screwdriver, and level).
20 overlanding essentials: Gear and gadgets for the ultimate off-road camping adventure
What to pack for an overlanding trip
In addition to food, water, and the usual assortment of clothing and toiletries, I’ve found the below items to be crucial for a successful overlanding trip.
Coolers are really useful, especially when overlanding for multiple days in hot, desert-like conditions. You can even buy small, collapsible cooler bags to help preserve space. Another tip is to add a few frozen water bottles to your cooler—they can double as ice and fresh drinking water once they melt. If you are thinking about overlanding for longer than a week, you may want to consider investing in a small refrigerator that can connect to your car’s battery. Just be aware of the refrigerator’s voltage and how much power it will pull so you don’t end up draining your battery and getting stuck somewhere.
A camp stove gives you the option to cook different meals, especially if fires aren’t allowed where you’re overlanding. Try to get a multi-fuel stove if possible, which will allow you to burn different types of fuel (white gas, kerosene, unleaded gasoline, even alcohol) and not be so reliant on propane. However, if you want to forgo a stove completely and stick to campfires, then I suggest packing a cast iron skillet (you really only need one medium-sized skillet). These pans are extremely durable, reliable, and ideal for cooking over an open flame.
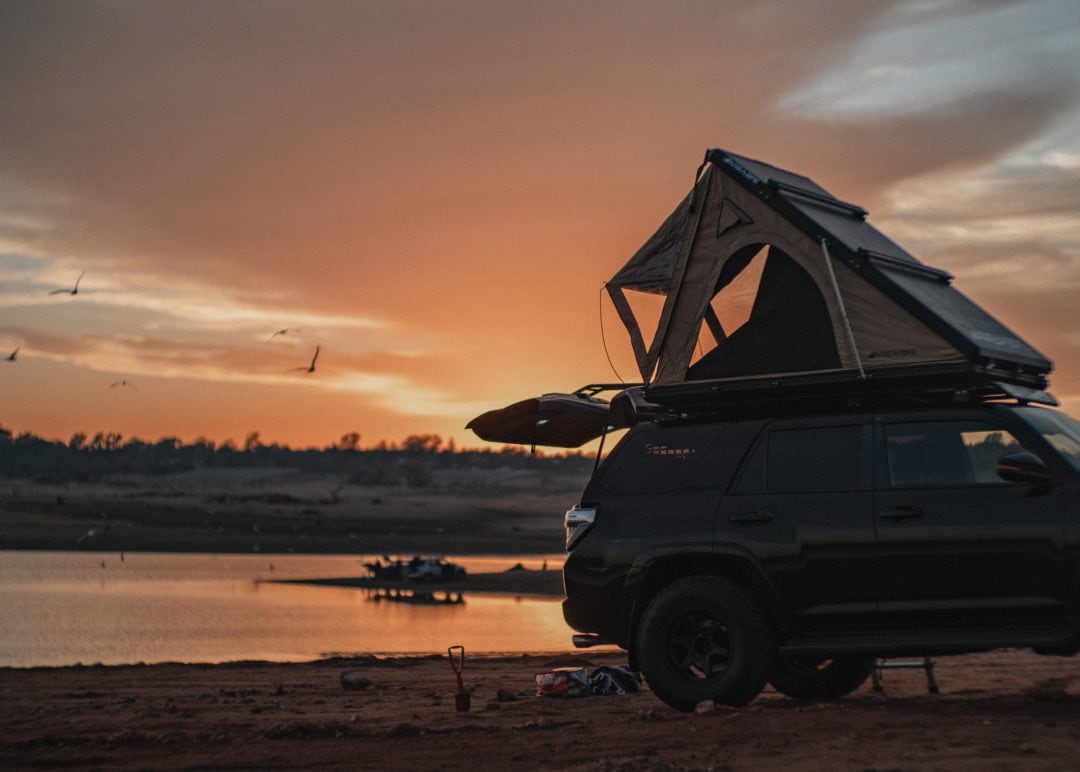
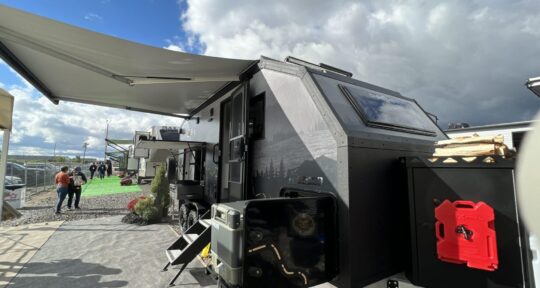
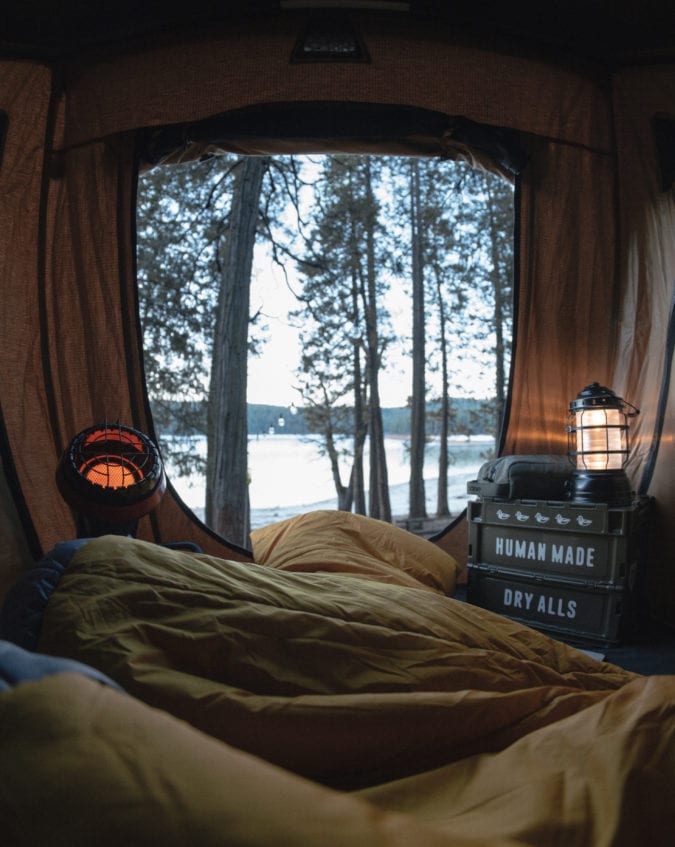
A tent or sleeping foundation adds extra space and comfort, especially if you plan to overland with passengers. I opted for a rooftop tent on my 4Runner because it gives me and my family more space and is super easy to install. It also allows us to be elevated off the ground, where we can stay dry and feel safer. If you don’t want to deal with a tent, then I still suggest having some sort of sleeping pad or blow-up mattress on hand. And if you have the space, some extra pillows and blankets from home can make a big difference. Overlanding can be physically demanding on your body so it’s important to get a good night’s rest.
Topographic maps and a compass are really valuable to have since, more often than not, overlanding will take you to far-out places with no cell service. Topographic maps help you chart your driving course and give you a much better idea of the terrain and elevation, while a compass helps guide which direction you should park your vehicle (especially important if you want to sleep in and not directly face the sunrise).
Comfortable camp chairs might seem unnecessary since you’ll be driving a lot during an overlanding trip, but there’s something to be said about being able to sit outside and enjoy the outdoors. Just be sure you bring chairs that can recline and have adjustable legs and feet to fit whatever terrain you’re sitting on. There can be a lot of downtime on an overlanding trip, and having some comfortable camp chairs to relax in will help pass the time.
A first aid kit should be an essential for any outdoor trip. I always keep a first aid kit in my 4Runner, that way I never forget it. In addition to some of the basics—Band-Aids, alcohol swabs, tweezers, and ibuprofen—I also like to carry materials for more serious injuries, such as gauze, splints, and wound irrigators. And lastly, my first-aid kit also includes a small fire extinguisher and a DeLorme inReach satellite tracker. This tracker not only allows me to send out an SOS signal but it also acts as a two-way messaging device and can download weather updates.
Best places to try overlanding
The best part about having an overland-ready vehicle is the freedom to go almost anywhere. Local and state campgrounds are a great place to ease into overlanding, especially if you have to drive a ways off the main highway to reach them. Call ahead and ask about road conditions leading to the campground, and find out if the campsites are paved or have hookups. To get a more authentic overlanding experience, look for remote campgrounds that have dirt roads and no hookups.
The ultimate guide to overlanding the California Crest Trail
Once you’ve mastered the more rugged campgrounds and you really want to get the most out of your overlanding vehicle, then it’s time to explore places that are completely off the grid. Start by purchasing a state atlas, and then picking a specific area that you want to explore. Look for public lands (sections labeled Bureau of Land Management, or BLM) and fire roads—both of which are great places to start since they offer wide open, safe options for overlanding. You can also check out maps on the United States Forest Service (USFS) website, which often include specific overlanding routes, 4×4 trails, backroads, and remote forest pathways. And lastly, there are some free overlanding apps, like onX, that are great for discovering new places and extremely helpful when it comes to planning your first trip.
Just remember, the whole point of overlanding is to break away from the hustle of daily life and enjoy some secluded time in nature. Plan a route and just go. And then go a little further the next time. Adventure is out there, you just have to find it.
After your overlanding trip
Once your overlanding trip is complete, your work isn’t finished just yet. You still have to unpack, clean, and do a maintenance check.
Before you leave the dirt roads and start driving on paved highways, always make sure your tire pressure is at the manufacturer’s recommended pressure. To get the most accurate reading, tire pressure should be checked when tires are “cold,” or have been driven less than a mile.
Back at your home base, be sure to give your vehicle a wash—or at least a good hose down—to get rid of any dirt or buildup that has accumulated on and under your vehicle. This will also help prevent rust if you do any overlanding in snowy or wet conditions. Be sure to wipe down and shake out all of your gear as well.
Once your vehicle has been cleaned off, it’s time to do a maintenance check (getting rid of the dirt and grim first will help you notice if anything is wrong or looks damaged). Some things I always check after an overlanding trip are the suspension, tire tread, tire pressure, wiper blades, and all fluid levels, including the oil.
Even though these aren’t the most fun or glamorous parts of overlanding, they are vital for maintaining the longevity of your vehicle so you can get back out there and do it all over again.
This article has links to products that were carefully selected by our editors. We may earn commission on your purchases from these links. Visit this page for the full details of our affiliate marketing policy.
