Table of Contents
- • Dewinterize the RV Plumbing
- • Removing the RV Antifreeze
- • Sanitizing the RV Fresh Water System
- • Refilling the Water Heater
- • Cleaning the Holding Tanks
- • Checking for Water Leaks
- • Checking Your Propane System
- • Maintaining Your RV Generator
- • Safety First
- • Additional Care for Motorized RVs
- • Additional Care for Towable RVs

When Should You Dewinterize Your RV?
- Wait until temperatures are consistently above freezing.
- If a cold snap occurs after you dewinterize, simply run your RV heat on the lowest setting and empty all holding tanks to protect your water system.
- Make sure you have time to complete all the recommended maintenance ahead of your first planned RV trip
Roof Maintenance
- Inspect for cracks and holes in seals. Apply sealant as needed.
- Inspect A/C unit and vent caps for cracking and damage.
- Check thoroughly for any nests set up by birds or wasps.
- Clean solar panels, if applicable.
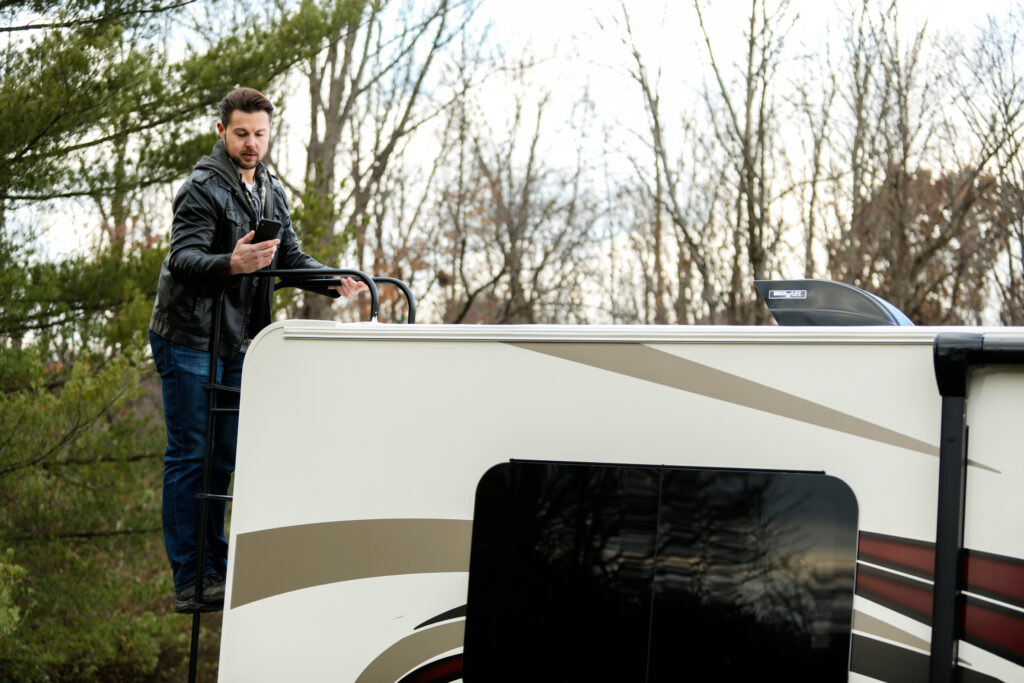

RV Owner Tip
The roof is a vital part of the integrity of your RV. Just because it’s out of sight, don’t let it be out of mind.
RV Exterior
- Wash and wax the exterior.
- Check all body seams and seals around doors and windows. Apply fresh sealant as needed.
- Open all windows and doors to make sure they are in working condition.
- Wash gaskets with soap and water to remove any dirt and resin. Then apply a UV protectant.
- Clean your awning and lubricate moving parts as recommended by the manufacturer.
- Check all compartments for spider webs or animal nests.
- Check plumbing, wiring, and gas lines for damage.
Towable RV Batteries
- Inspect the RV batteries and clean any corrosion around the terminals using hot water and baking soda.
- Check the water level and add distilled water if needed.
- Check for cracks. Any cracked batteries will need to be replaced.
- Keeping your RV battery charged over the winter will extend the life of the battery
RV Owner Tip
A battery can lose about 10 percent of its charge for each month it is in storage. Don’t be surprised if it takes a few hours to charge the batteries back up. The size of the batteries and how they were stored will impact the charge time.
Reinstalling Towable RV Batteries
If your battery was disconnected for the winter, follow these steps:
- Spray both terminal ends with a hot water and baking soda solution to keep them from corroding.
- Attach and tighten the positive (red) battery cable. Then attach and tighten the negative (black) battery cable.
- Double check that all your cable connections are tightened
Motorized RV Batteries
There are two types of batteries on a motorhome: the chassis batteries and the house batteries. You’ll need to make sure to maintain both sets of batteries for your rig to operate correctly.
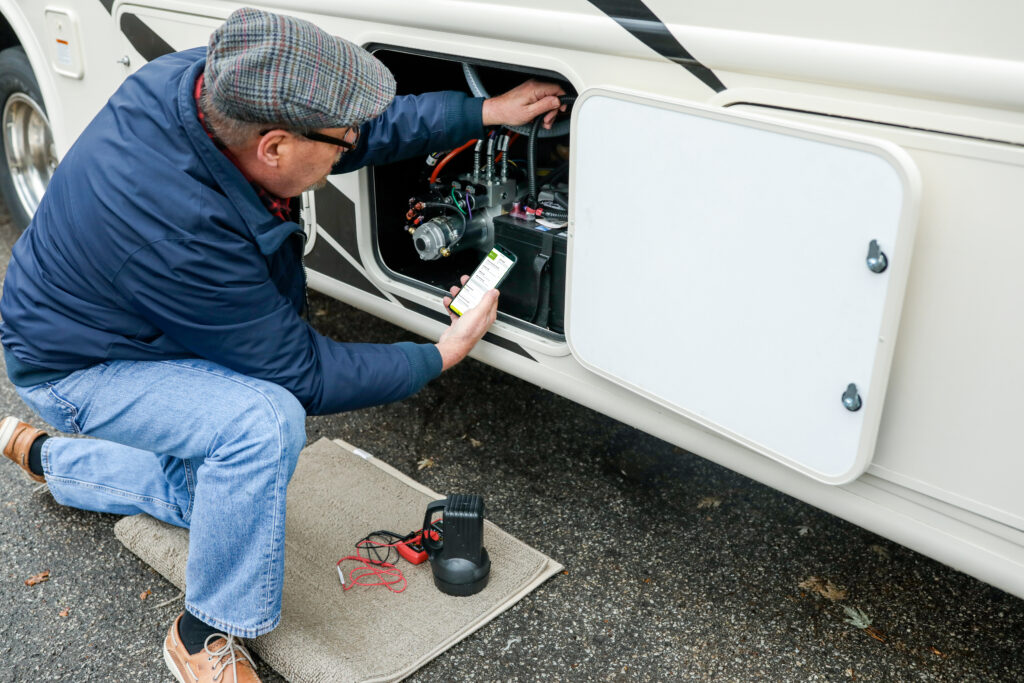
Charging Motorized RV Chassis Batteries
- Keep the battery charger in the “off” position as you connect it to the RV charger.
- Connect the red cable to the red indicator on your RV, then connect the black cable to the black indicator.
- Check that voltage is set to 12 volts. Set your power to “charge.”
Charging Motorized RV House Batteries
- Check fluid levels before charging.
- Add distilled water as necessary so that the water just covers the plate. Never use water with minerals in it (including tap water) as this will cause damage. Keep battery plates covered at all times.
- Keep flames and sparks away from the batteries while charging as off-gassing could cause a battery to explode.
- House batteries will begin charging as soon as you plug the RV into a 110V receptacle.
- Leaving the RV plugged in overnight will ensure a good charge for operating all 12V items such as jacks and slide-outs.
RV Owner Tip
If you are uncomfortable maintaining your batteries, find a local service center that can do it for you.
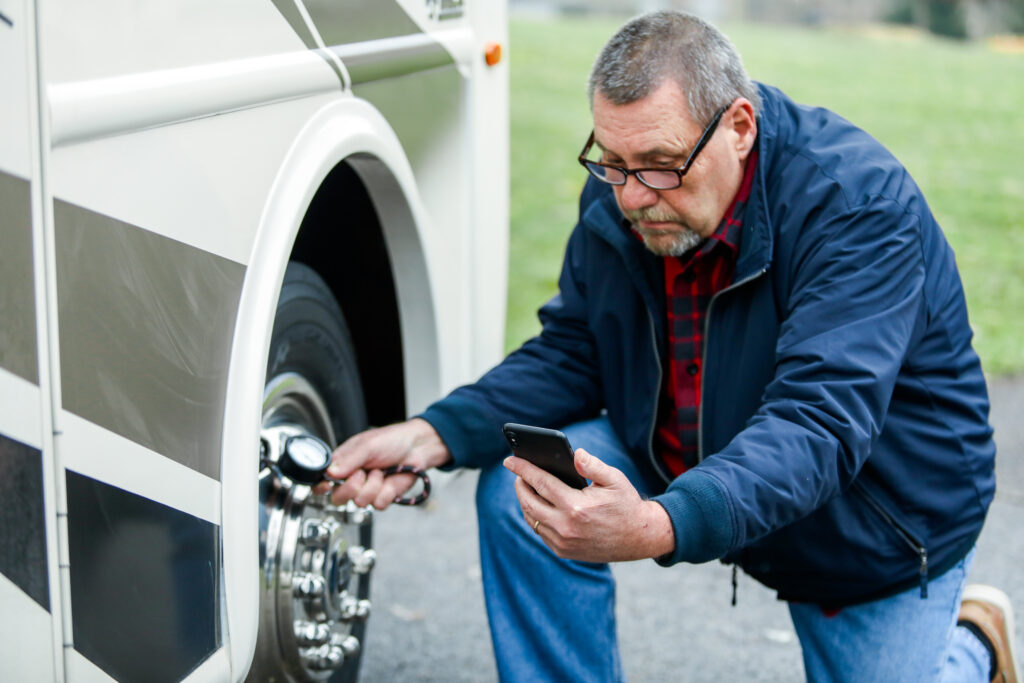
RV Tires
- Check each tire, including the spare, for cracks along the treads and sidewall.
- Check the pressure of each tire with an air inflation gauge.
- Inflate tires to the correct pressure, according to manufacturer guidelines.
- Make sure the lug nuts are tightened to manufacturer specifications.
RV Interior
- Investigate for evidence of mice, spiders, squirrels, or other pests.
- Check for discoloration on your ceiling and walls as that can be a sign of a water leak.
- Change your air and water filters.
- Run water through the pipes and check for leaks under sinks.
- Vacuum carpets and wipe down surfaces and cabinets.
- Air out RV by opening doors and windows.
- Clean refrigerator interior.
- Rinse or vacuum window screens.
Dewinterize the RV Plumbing
Dewinterizing the plumbing system involves three main steps:
- Removing RV antifreeze from the system.
- Sanitizing the system so that it is safe for use.
- Refilling your water heater for use.
Let’s take a closer look at each of these steps…
Removing the RV Antifreeze
- Make sure all faucets are closed.
- Reconnect any water lines that may have been disconnected while your water heater was in “bypass” mode. Check your RV manual for information and diagrams on bypassing your water heater.
- Connect a water hose to your rig’s city water inlet, and turn on the water supply. Check for leaks by looking and listening for any water drips.
- Starting with the faucet farthest away from the water source, turn on the cold water, and then the hot water, until it runs clear. Repeat this process at each faucet, shower, and toilet. Don’t forget the outside shower. Your antifreeze is most likely a pink color, so pink water draining out is normal.
- Once the water runs clear from every faucet, turn off the water supply and disconnect the hose from the city inlet.
- Fill your fresh water tank with enough water to flush each faucet, turn on the water pump, and repeat the flushing at each faucet as you did before.
Sanitizing the RV Fresh Water System
Bacteria can grow in your water lines and holding tanks while your RV is in storage. Failing to properly sanitize your fresh water system can lead to illness. Don’t skip this critical step in the dewinterizing process.
- Close the drains and install the drain plugs.
- Use a quarter-cup of bleach for every 15 gallons of water that your fresh water tank holds. Mix the proper amount of bleach with water in a one-gallon container and pour into the fresh water tank. Next, fill the fresh water tank to capacity using a hose.
- Run water at every faucet until you smell the bleach mixture. Close the faucets and let the mixture sit.
- After 12 hours, drain the fresh water tank of the bleach mixture and fill it with fresh water.
- Run each faucet until you can’t smell any bleach.
- If you use all the remaining water and can still smell bleach, refill the tank and repeat.
Refilling the Water Heater
- Install any water filters that may have been removed.
- Turn the water heater bypass off.
- Install the drain plug or anode rod in the water heater drain (if removed).
- With the water pump running, let the water heater fill with water.
- Open the “hot” tap on a faucet to allow air to escape while filling.
RV Owner Tip
NEVER turn on your water heater without water in it. This can cause serious damage.
Cleaning the Holding Tanks
- If your RV has a built-in flushing system, use it to give your black tank a good scrubbing. If you don’t have that feature, use a flushing wand or tank cleaning product.
Checking for Water Leaks
- Crawl under the sinks with a flashlight and look for any cracks in the drain traps. Turn on the water and let it run while inspecting for leaks.
- Shine your flashlight anywhere water might leak. Check around the toilet base and behind the waterlines.
- Shut off the city water to check your fresh water tank. Make sure all faucets are closed and turn on the water pump.
- In a few minutes, the system should reach full pressure and the water pump should shut off.
- Wait and listen. If the pump doesn’t start again, you are leak free.
- If the pump doesn’t stop, or it turns on again after a few minutes, you may have a leak. Contact your RV service technician.
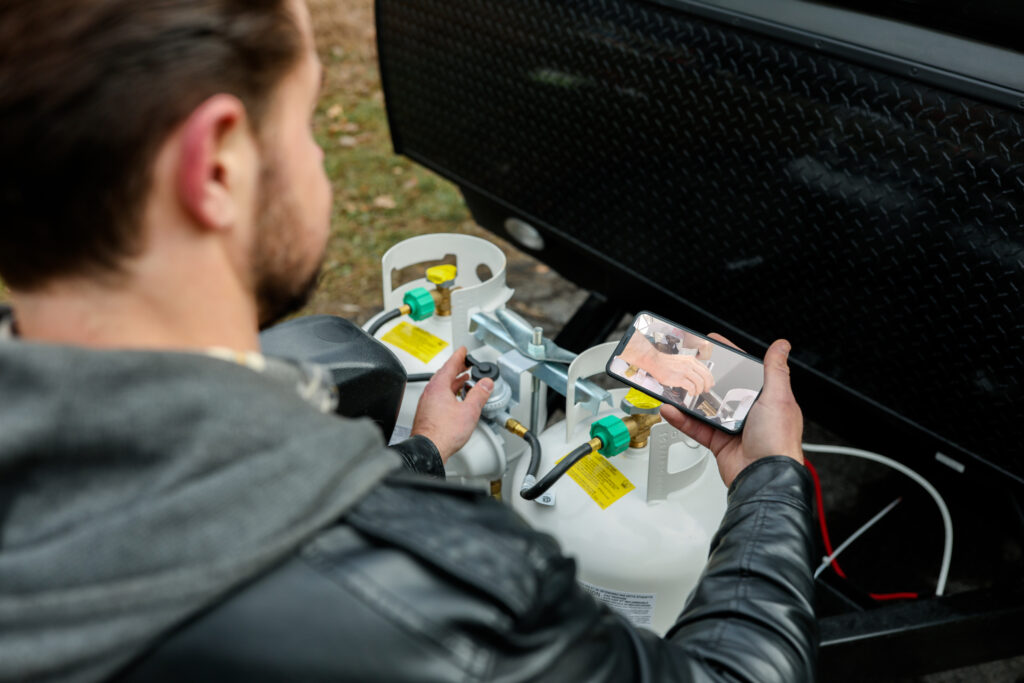
Checking Your Propane System
- Turn off all LP items before you begin to test the system.
- Confirm the leak detector is on inside your rig. Most LP detectors are hard-wired to the 12 volt system. Test to verify.
- Slowly open the valve on your tank all the way. Smell for leaks.
- Apply a soapy water solution to the valve and regulator and watch for any bubbling or spurting, which signals a leak.
- Check all wires and hoses for signs of damage.
RV Owner Tip
Have an authorized RV repair facility run a gas pressure operating test and a leak test once a year.
Maintaining Your RV Generator
If your RV has a generator:
- Check the oil level and service according to your generator manual.
- Inspect the generator exhaust system for damage before you start it up.
- Once the generator is running, turn on the air conditioning to test that it is properly supplying power to the RV.
- If the generator won’t start, or if it continues to surge after starting it, head to an RV
service facility.
Safety First
- Replace the batteries in the carbon monoxide detector, smoke alarm, and LP gas leak detector.
- Test all alarms.
- Inspect fire extinguishers and replace as needed.

Additional Care for Motorized RVs
- Open up the hood and inspect for any bird nests, cobwebs, or critters.
- Check your engine oil and transmission, steering, brake, and windshield fluids. Top off as needed.
- Turn on the engine and test the headlights, brake lights, running lights, and emergency lights.
- Drive around the neighborhood and listen for any unusual noises.
Additional Care for Towable RVs
- Hitch your towable to your tow vehicle and check that your linchpin is completely secure.
- Check brake lights and turn signals.
- Test trailer brakes.
- Drive your tow vehicle and rig around the neighborhood and listen for any unusual sounds.
Meet the Author