Because it’s a small space with a lot of foot traffic in and out, you may find that your RV gets messy fast. But a little bit of tidying goes a long way, and there’s no better feeling than having a neat inside view to complement whatever’s outside your window. Below, find 9 steps to getting your RV as clean as possible.
1. Clean Fridge, Freezer, and Cabinets
First step: Take out everything from your fridge, freezer, and cabinets. This is a good time to check expiration dates on cans, boxes, and bottles and dispose of anything past its prime.
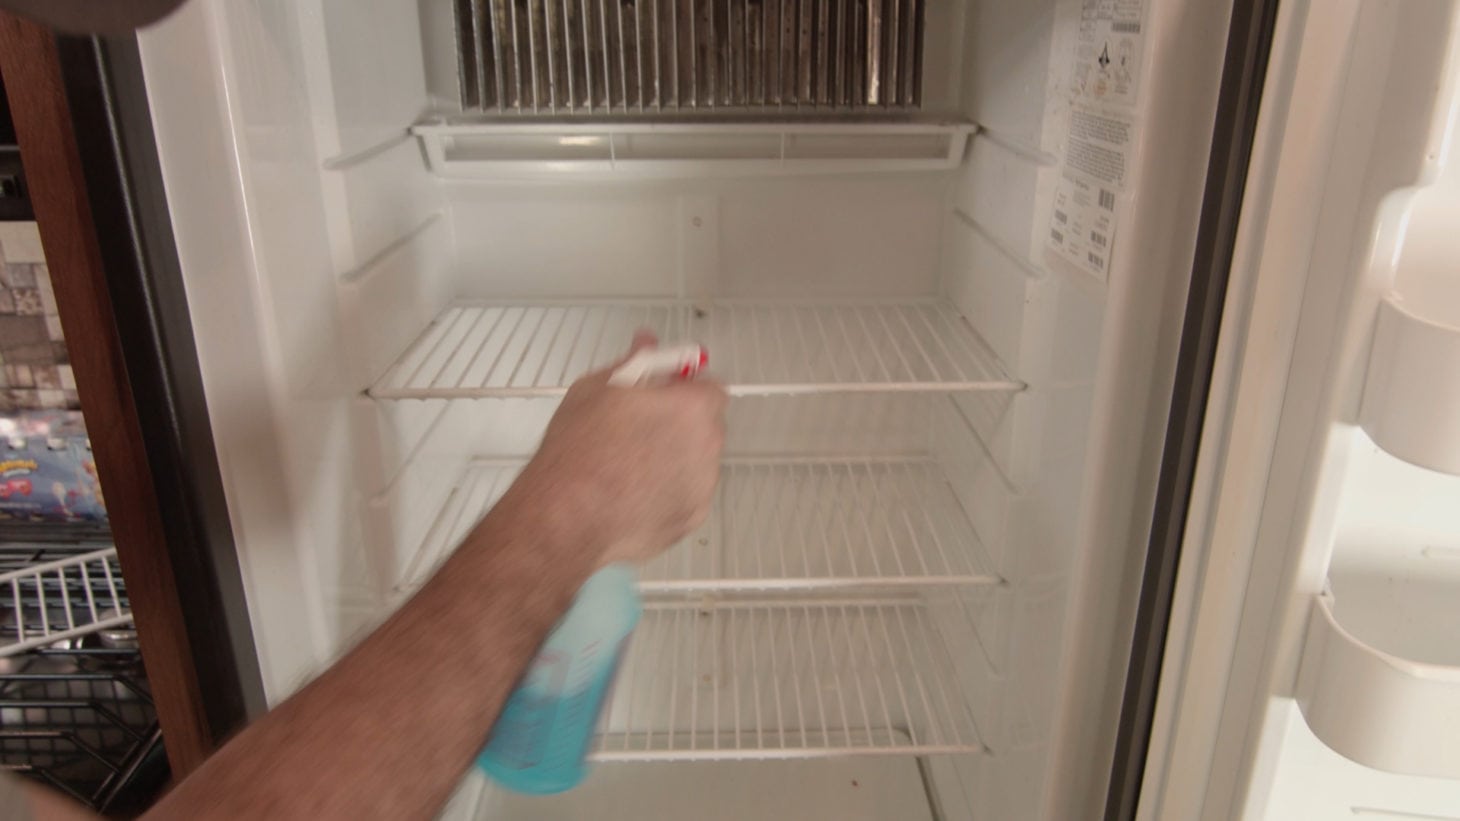
Then, spray down the inside of your fridge and freezer with your favorite disinfecting cleaner and wipe them out. If you’ve had any leaks or spills, it might be easier to run shelves or drawers through a dishwasher or wash them in the sink.
Spray and wipe down the inside of your cabinets, making sure to clean up crumbs or anything sticky that may attract pests.
2. Wipe Down All Surfaces and Fixtures
Spray and wipe down all surfaces inside the RV. In the kitchen, focus on countertops, tables, and exteriors of appliances like your microwave, stove, and oven. Don’t forget to wipe down the outside of your cabinets, too.
In living spaces, dust all surfaces and wipe down anything frequently touched with a disinfectant spray. For instance, wipe down doors, knobs, tables, remote controls, lamps, and any non-porous seating.
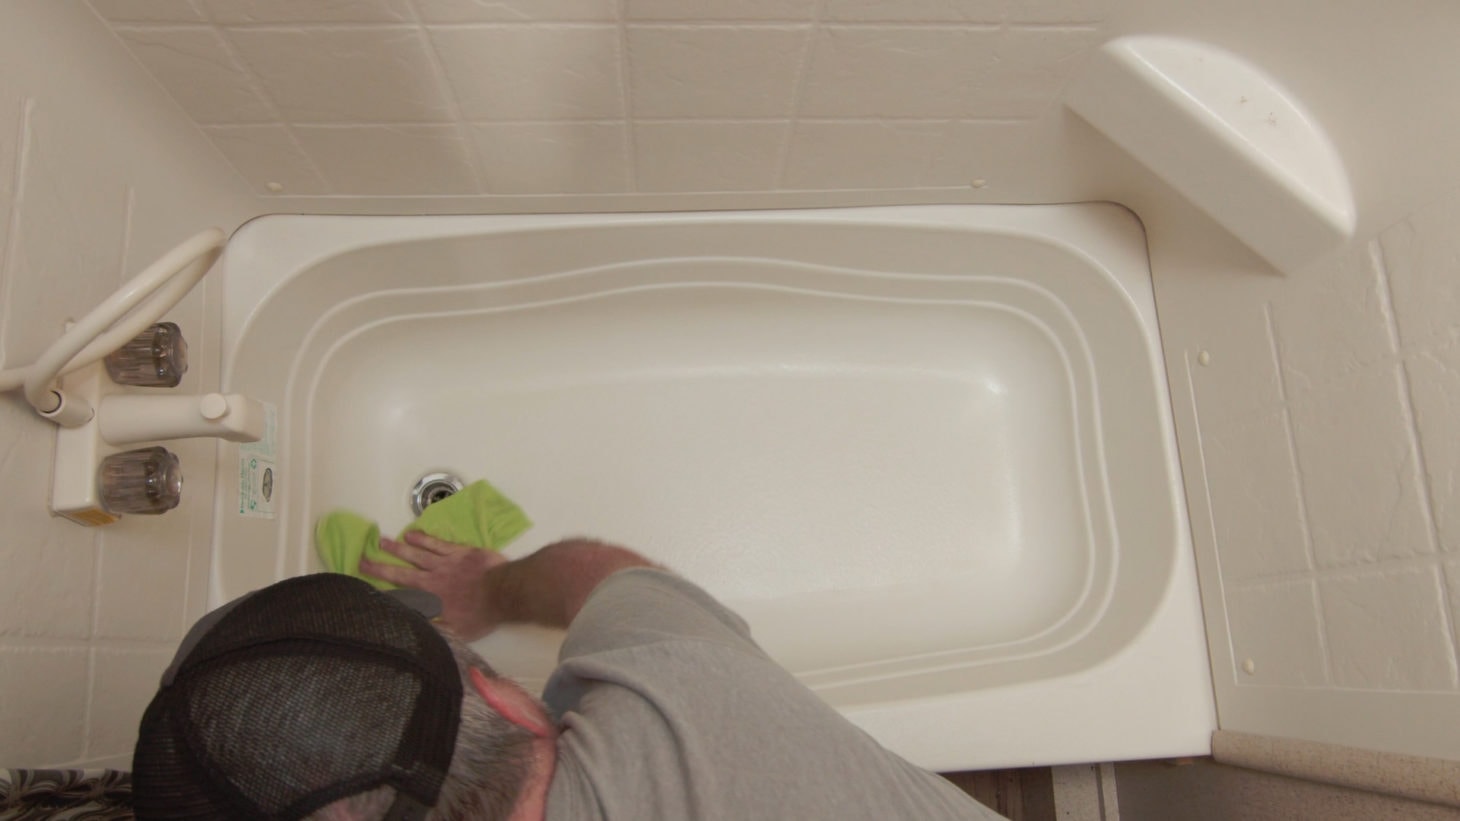
Bathrooms can always use a deeper clean with cleaners specially designed to kill germs (but that are also safe to use on RV surfaces). We recommend using a non-abrasive disinfectant. And don’t forget to wipe down faucets, knobs, and toilet handles.
3. Clean Out Air Vents and Filters
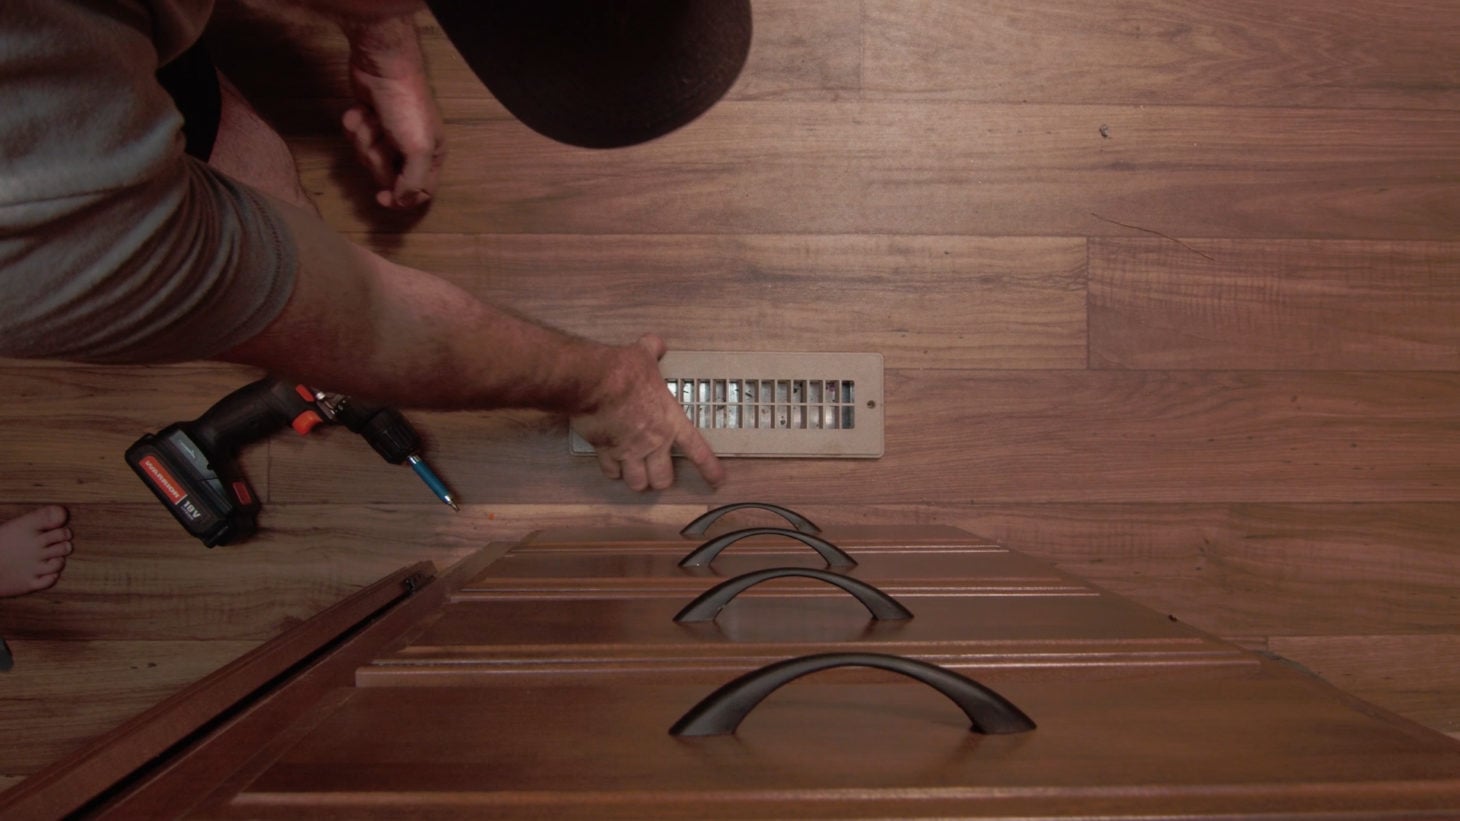
Over time, heating vents can accumulate both dust and debris, especially if they’re placed on the floor. Although it takes an extra moment, removing the covers will allow you to vacuum and clean the air vents and dispose of old food crumbs, wayward dirt clods, and more. Likewise, dust loves to accumulate in air filters, which slows down the circulation of fresh air inside your RV and can trigger allergies. Most air filters can be taken outside and hosed in a matter of seconds, giving you fresh air in a snap.
We Researched How to Have Clean Air in Your RV—This is What We Found
4. Clean Window Screens
It’s your choice whether to suck or blow—both a vacuum attachment and compressed air can help clean your window screens while they’re in place. If you don’t have either, take your screens out and give them a good spray with a hose to dislodge fluff, old bugs, and general ickiness from your windows.
5. Sweep and Mop the Floor
When you live close to nature, sweeping your RV out becomes a daily task. The moment you’ve swept, there’s dirt on the floor again. Every so often, give your RV floors a deep clean by sweeping thoroughly and mopping. Be sure to target all the corners and crannies to really get the job done. And if you want to bar anyone from entering your sparkly-clean RV for a few hours, well, we don’t blame you.
6. Water Plus Vinegar Cleans (Almost) Everything
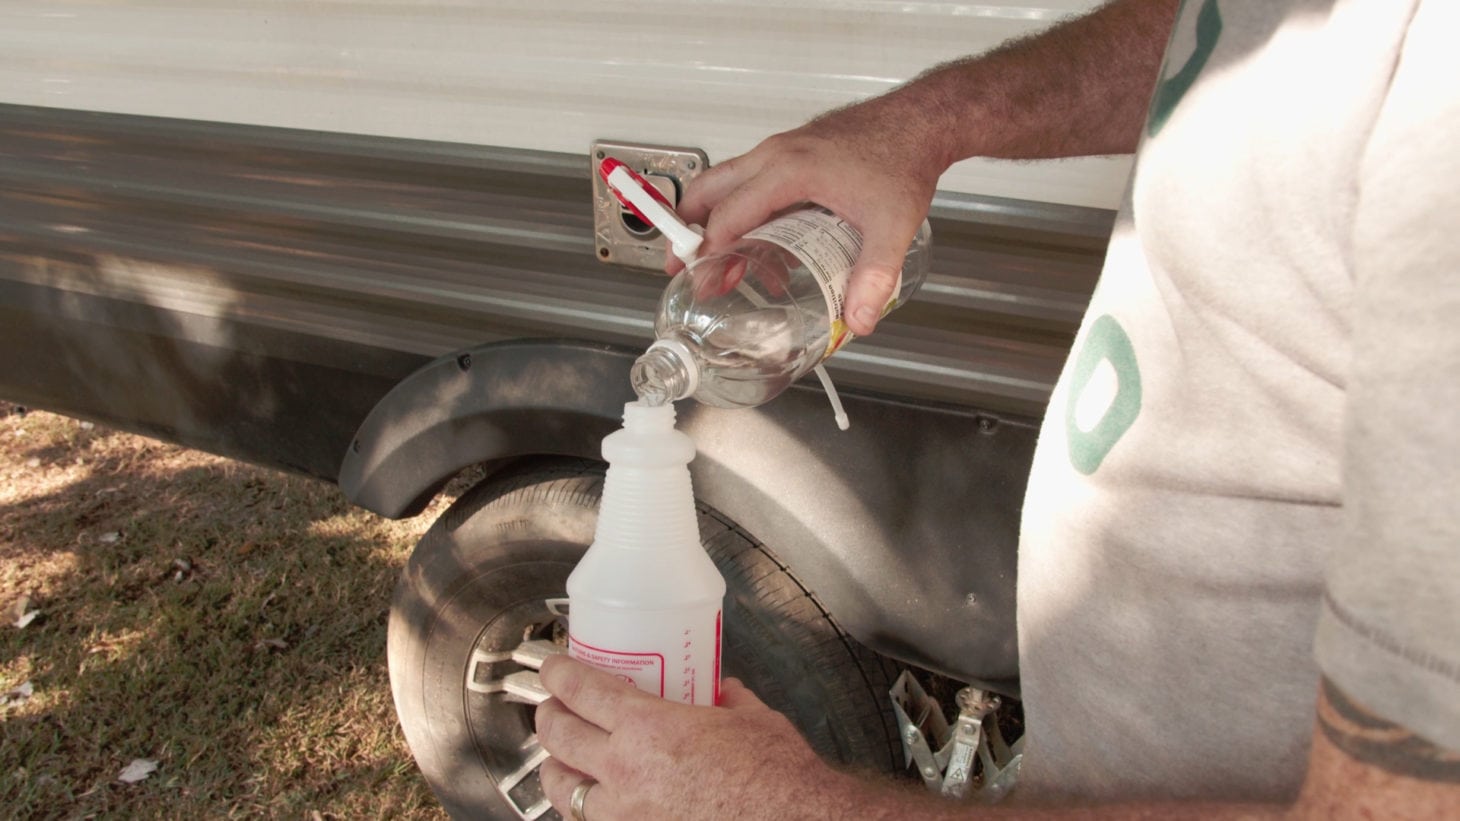
In a world where so many specialty products are for sale, it can be easy to forget that one of the best cleaners is nearly free. Just mix equal parts of white vinegar and water in a spray bottle for a non-toxic cleaner that cuts through grime and loosens dirt, all thanks to its natural acidity.
7. Don’t Forget About the Exterior
Take a broom to the roof, and sweep down any old leaves or twigs from the tops of your slide-outs. If you’re going for a full top-to-bottom shine, give your tires a quick clean with a spray-on tire cleaner.
8. Treat Your Awnings With Care
One thing we do recommend a specialty cleaner for is the awnings, for a couple of reasons. One, outdoor awnings are more subject to road grime, tree sap, mold, and dirt. Two, most acrylic awnings are treated with a plastic finish to help repel water and discourage the growth of mold. This finish can rub off or become damaged if you find yourself aggressively scrubbing the awning with a regular cleaning solution.
Look for a product that’s both gentle enough to preserve your awning’s finish and effective enough to cut through sticky pine sap without needing to scrub. Use a soft sponge or a rag to wash your awning, and in between washes, give it a good hosing down with plain water regularly.
9. Fill and Drain the Freshwater Tank
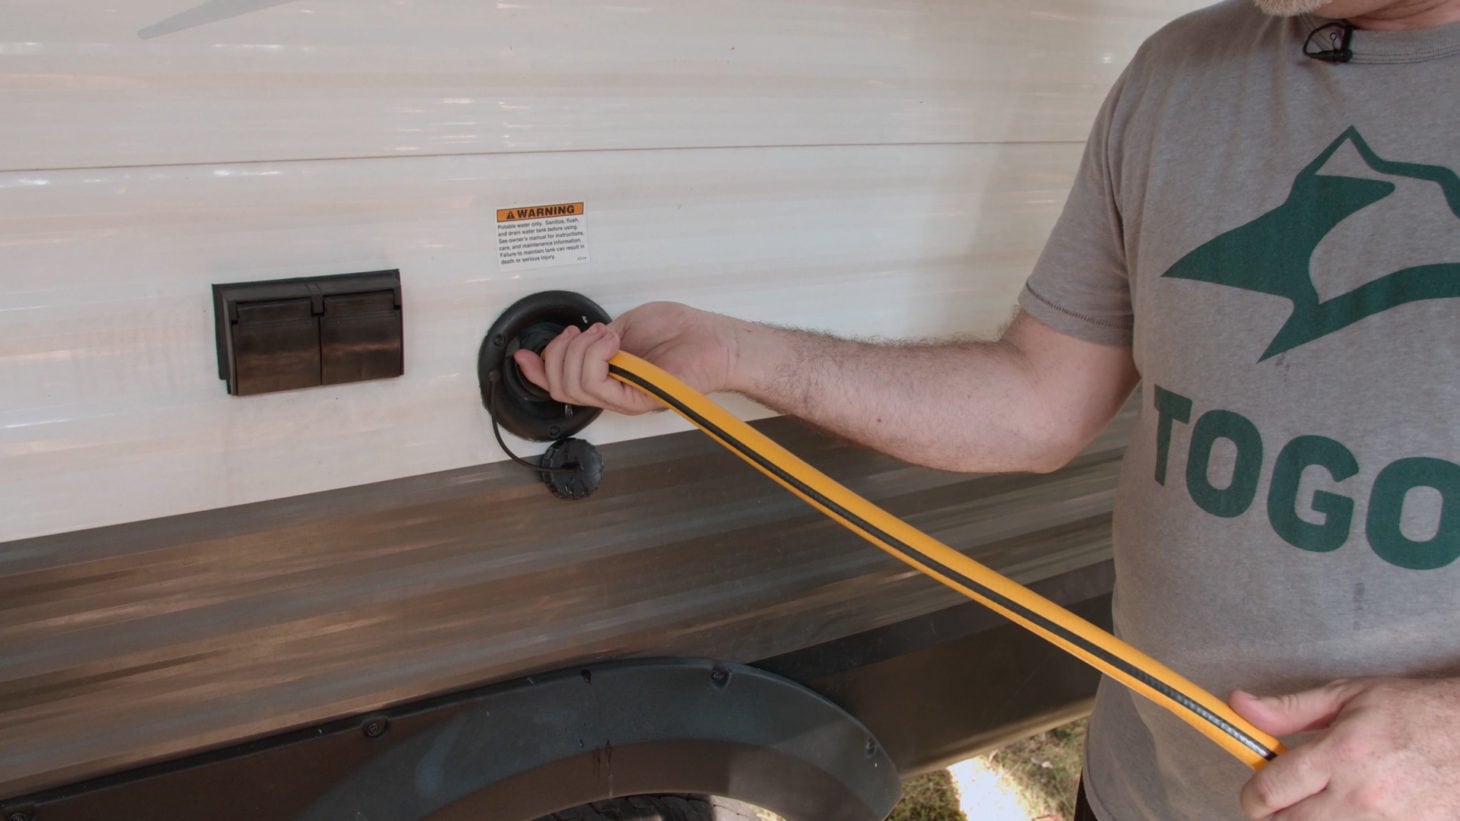
Giving your freshwater tank a good flushing can make a big difference in your water, especially if your RV only gets used sporadically. First, open up the valve to let your tank empty onto the ground. Then, run a clean hose to add water into your tank, letting it run out the other side. You’ll help push through any wayward minerals from hard water or debris that has found its way into your tank. Use a special freshwater tank sanitizer to help give your tank an extra cleaning.
Cleaning vs. Disinfecting Your RV
There are two steps to making sure your RV is as hygienic as possible: cleaning and disinfecting. Cleaning refers to wiping down surfaces and areas to remove visible soils while disinfecting refers to killing the germs underneath. It’s important to clean before you disinfect, as germs can hide under visible soils and reduce the efficacy of your disinfecting efforts.
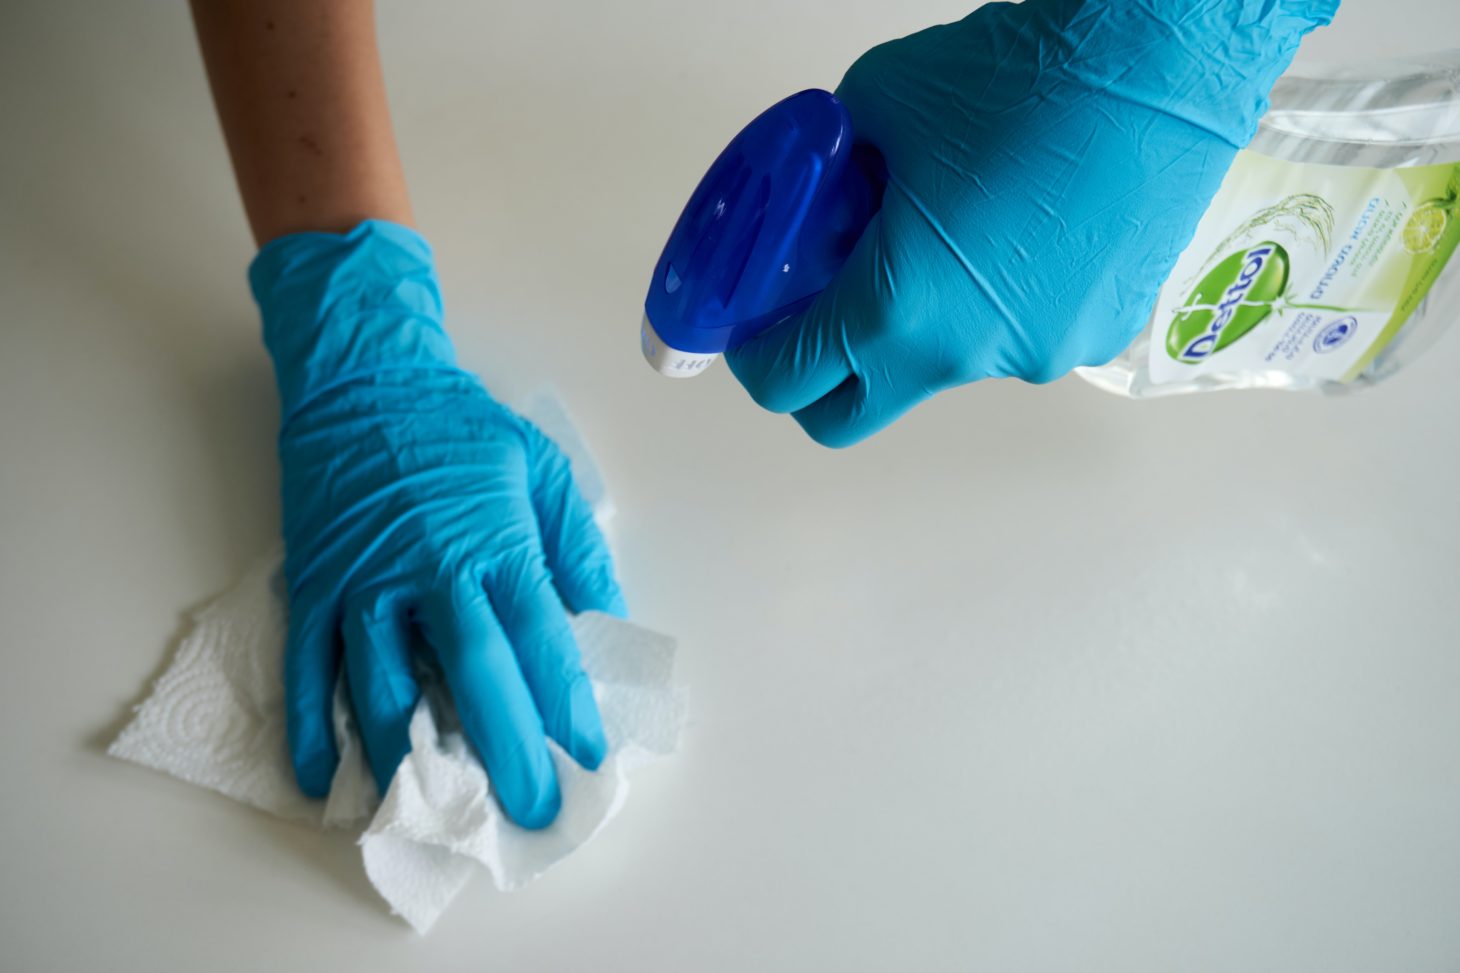
When disinfecting the inside of your unit, start with an all-purpose or multi-purpose cleaner. Then, make sure to follow that with a bleach-based disinfectant or a solution containing 70 percent or more alcohol. The American Chemistry Council (ACC) has also released a list of coronavirus-fighting products.
Be sure to use paper towels or wipes when disinfecting, and try to wear disposable gloves during the entire process. We don’t recommend cleaning with a mop or sponge, as these can actually harbor germs and spread the contamination. When washing dishes and clothing, try using the highest temperature and hottest water possible. This may mean boiling some water on a stove or campfire to get it hot enough.
This article has links to products that were carefully selected by our editors. We may earn commission on your purchases from these links. Visit this page for the full details of our affiliate marketing policy.


